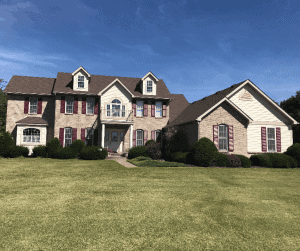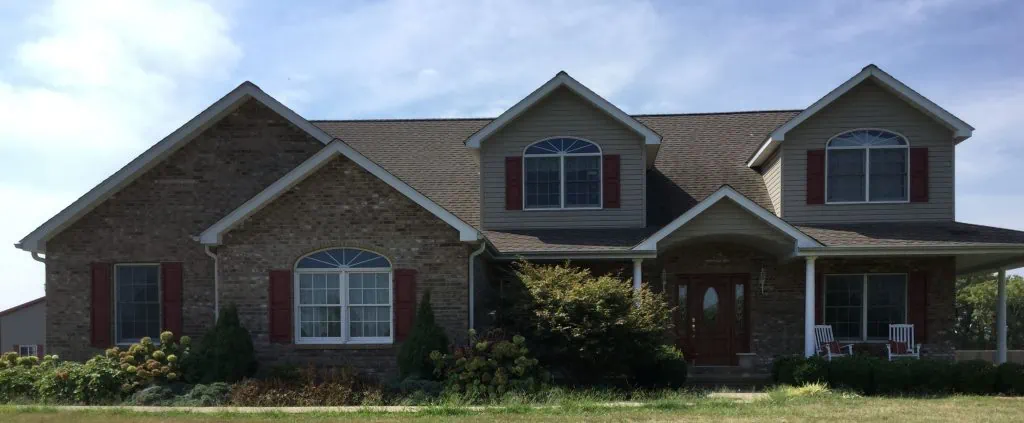
Are you bored with the look of your home? Is your homes exterior in need of an update but your checkbook says “no”? We all want our home to have nice updated curb appeal and usually that involves a significant investment of time and money. One thing you can do to spruce up your homes curb appeal without breaking the bank is to simply repaint the shutters. Dingy, ugly, or faded shutters can be spruced up in a day and can really create a dramatic improvement to the exterior of your home. Yes, it really is that easy! Good use of color on your shutters will boost your home’s look and increase its value.
Color Selection
Selecting the right color can really enhance the charm of your home, while picking the wrong color could really annoy your neighbors and even decrease its value. A typical home color scheme has three colors which include siding, trim and accent. Some prefer to match the shutters to the front door which is the accent color, while others prefer to match the color to the trim color as they will butt up to the window trim. Most of our customers prefer to paint their shutters the accent color which creates good contrast. Your local paint store can assist you in looking through suggested color combinations that would best complement your homes siding color.
For fun you can check out Sherwin-Williams color visualizer to see what colors would look like on your home

Proper Preparation of Shutters
Proper prep work will ensure true and lasting color. While color selection may be the most difficult and time-consuming, don’t skimp on the preparation before you apply paint. In most cases, we prefer to remove the shutters. As you are removing them, be certain to number them as you take them down. We promise, this matters and it takes the guesswork out of putting them back up. If your shutters are made of wood, chances are there are simply long screws used to hang them. These are easy to back out and re-use as long as you are careful not to strip them! If they are plastic, chances are they are attached with large plastic push pins that are ribbed for gripping strength. Use a claw hammer to pull these straight out but understand they break about half the time. They are almost never re-usable, so you will need to purchase new ones for re-hanging. It is also important to note that behind shutters are a favorite hiding place for wasps and bees. Keep some wasp spray close by as you begin to remove them.
Clean the shutters with a good scrub brush, be sure to get all chalky residue off of them. Do not power wash the slats directly as this could damage them. Allow the shutters to thoroughly dry before moving on to the next step.

Putting the Paint on the Shutters
Once clean and dry, place the shutters on sawhorses as they are easier to paint in the horizontal position. Now it’s time for paint! You’ll need a good quality paint blend of acrylic and urethane. Urethane resin is the key ingredient that bonds tenaciously to virtually anything it touches. This includes your skin so use caution. Apply paint from top to bottom starting with the slats then edges. If your shutters are made of wood, you will need to paint both sides to protect it from the weathering. Apply a second coat of front side after the back has dried. As professionals, we spray for an even coat that brings back that factory finished look.
Once dry, we carefully re-hang the shutters to original positions. We believe that painting your shutters adds the most value to your home for the money. You will be amazed at the difference, and wonder why you didn’t do it years earlier!